
Before you begin the process of establishing WordPress with ChatGPT, it’s necessary to first finish steps 1 through 3. These steps include obtaining a free Virtual Private Server (VPS), setting up the domain, and establishing a connection to the server using SSH.
Step 1 Acquire a free Oracle Virtual Private Server (VPS)
https://www.oracle.com/cloud/free/
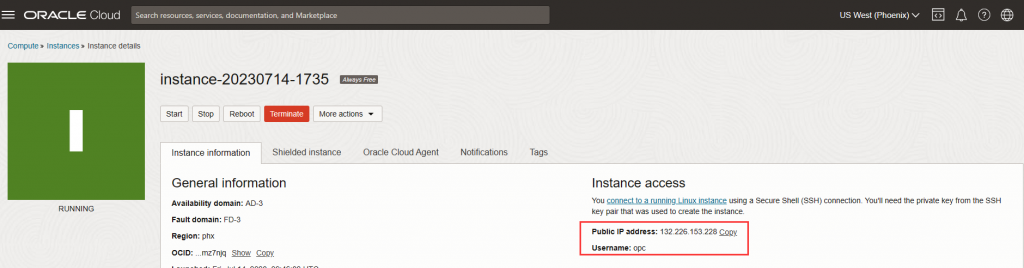
Register an account and generate an instance which operates on Oracle Linux, version 8. Don’t forget to download the private key which will enable you to establish a connection with the instance via SSH.
After the instance is created, you’ll receive a public IP address and a username. You can use these credentials to establish a connection with the server.
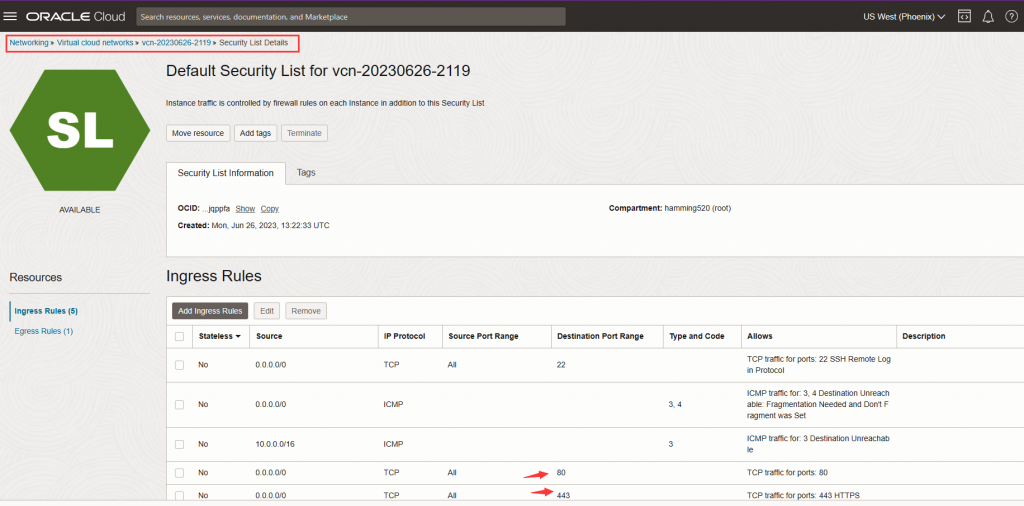
Additionally, it’s necessary to include Ingress Rules to open ports 80 and 443.
Step 2 Register you Domain Name
Add an A record to point your domain name to your Oracle VPS IP address.

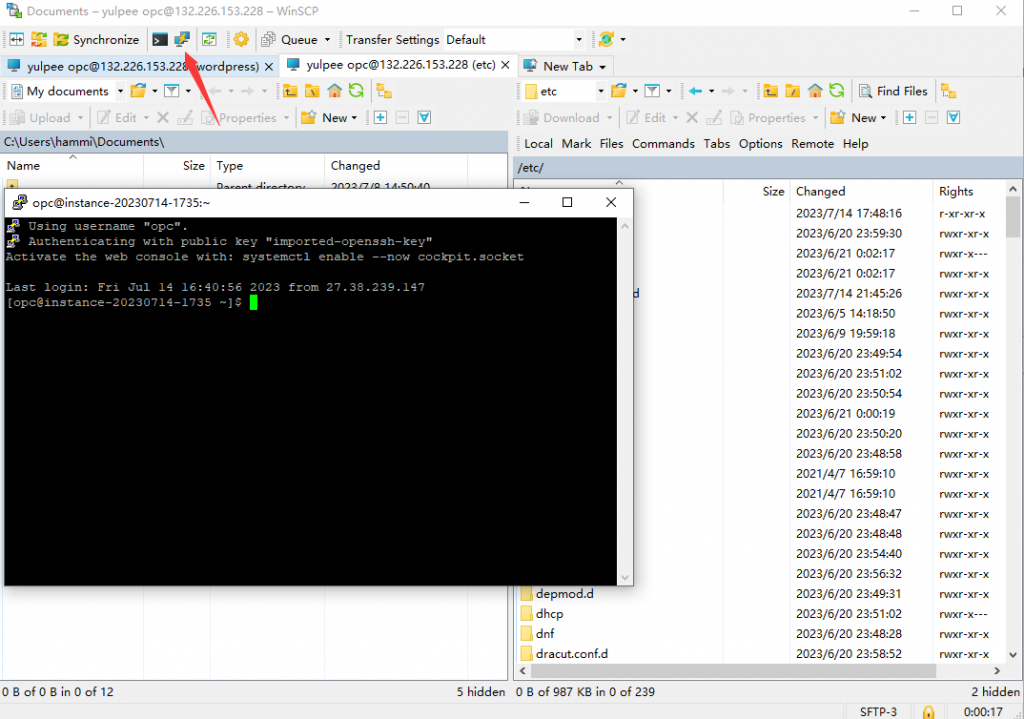
Step 3 Connect to a VPS server via SSH
https://winscp.net/eng/index.php
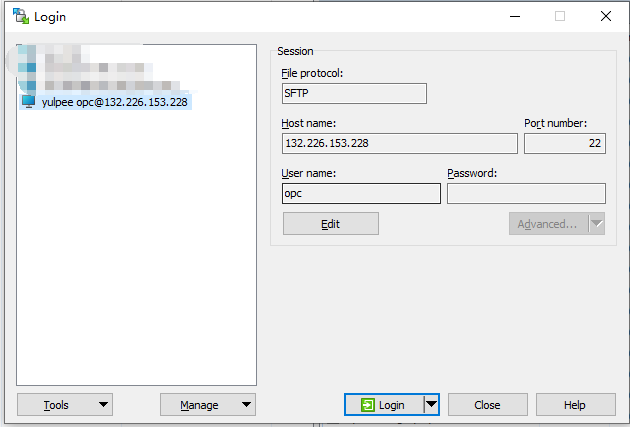
You have the option to utilize WinSCP for connecting to the server.
Set SFTP server:
sudo su -c /usr/libexec/openssh/sftp-server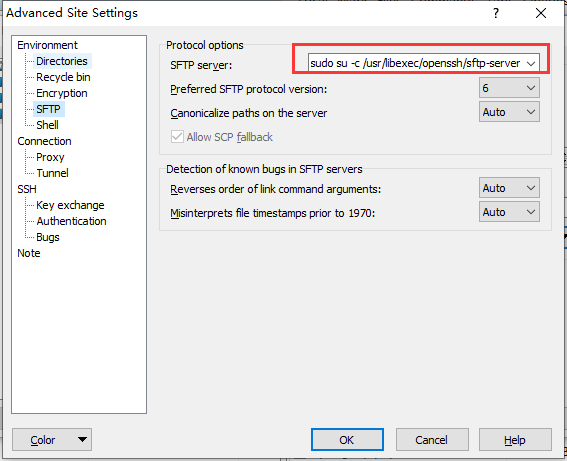
You can access the terminal window via PuTTY.
Step 4 Deploy LNMP and Install WordPress with ChatGPT
You can go through the entire setup process via the link shared below.
Setup LNMP Stack for WordPress (openai.com)